How to Fluff an Artificial Christmas Tree Like a Pro
An artificial Christmas tree can look surprisingly flat when it comes straight out of its storage box. Branches become compressed during the year, tips point in the same direction, and gaps appear between the sections. Careful shaping restores the layered, full appearance that makes a decorated tree look polished rather than sparse.
The secret is patience rather than expensive equipment. A pair of gloves, good lighting and enough floor space will usually be all you need. Whether your tree is a compact tabletop design for a Melbourne flat or a large seven-foot tree in a Brisbane living room, the same method creates a fuller silhouette.
Fluffing should happen before lights, garlands and ornaments are added. Once the branches are opened properly, decorations sit more naturally, fewer bare areas show through, and you may need fewer ornaments to achieve a balanced display.
| Tree issue | Best shaping response | Finished effect |
|---|---|---|
| Flattened branch tips | Separate each tip and angle them outward | Wider, softer outline |
| Empty spaces between branches | Fan inner branches in several directions | Better depth and coverage |
| Visible trunk or pole | Turn nearby tips towards the centre | More natural-looking fullness |
| Uneven tree sections | Shape from the bottom upwards | Consistent profile |
| Heavy decoration on one side | Rebalance branch angles first | Straighter, more stable tree |
Prepare The Tree And Work Area
Choose a clear area where you can walk around the tree. A tiled floor, spare room or covered outdoor area can make the job easier, although avoid leaving the tree in direct Australian sun for long periods. Strong heat can make some plastic needles brittle over time, especially on a tree stored in a hot garage in Adelaide or Perth.
Place the stand on a level surface and check that every screw or locking point is secure. Assemble the lowest section first, ensuring that the branches are attached to the correct sockets. If the tree has hinged branches, allow them to drop naturally before you begin separating the individual tips.
Wear thin gardening gloves if the foliage is prickly or made from stiff PVC. Keep a vacuum cleaner nearby, since a small amount of loose material can fall from an older artificial tree during shaping. This is also a useful moment to inspect the light cord, plug and extension lead before they disappear beneath the branches.
For households managing a tight festive budget, seasonal purchases can benefit from careful planning. If an unexpected change in income affects regular commitments, this guide to monthly payment options may provide useful general information before you commit to additional holiday spending.
Shape From The Trunk Outward
Begin at the bottom section and work upwards. Take one hinged branch at a time, then separate the larger side branches before addressing their smaller tips. Pull the branches gently away from the central pole, but do not force a wire hinge beyond its natural range.
Think of each branch as a small fan. Spread some tips towards the front, some towards the sides and a few towards the back. The variation creates depth and stops the tree from looking like a series of flat, symmetrical layers. Bend the outermost tips slightly upwards or downwards so the silhouette has a relaxed, natural rhythm.
The inner parts of a tree are often ignored, yet they contribute significantly to its fullness. Move several interior stems towards open spaces around the trunk. This disguises the central pole and gives ornaments a place to sit inside the foliage rather than hanging only around the edge.
Pause after completing each section and view it from several angles. A tree that looks full from the sofa may still have an obvious hollow when seen from the hallway. Rotate the tree as you work so you are shaping the entire circumference rather than creating one attractive front.
Build A Natural Christmas Tree Silhouette
A convincing artificial tree is usually wider at the base, gradually narrower through the middle and tapered at the top. Do not pull every tip straight out to the same distance. Instead, keep the lower branches broad and slightly downward-facing, with middle branches angled out and upper branches arranged more upright.
Leave modest spaces between some branch layers. Perfectly packed foliage can make a tree appear heavy and artificial, while a little variation allows lights to glow from within. If a branch looks too long or prominent, bend its tips towards neighbouring gaps instead of cutting anything.
Work with the tree’s existing design. A pencil tree needs a narrow profile, while a full-profile model can support wider branch angles. On budget trees sold through Australian department stores and hardware chains, the wire may be softer than on premium models, so gentle, repeated adjustments are safer than one sharp bend.
Stand several metres away every few minutes. Look for a lopsided shoulder, a triangular gap or a top section that seems detached from the rest. Small changes at this stage are easier than trying to correct the shape after baubles and ribbon have been installed.
Fill Gaps With Layered Branch Tips
When you find a bare patch, avoid simply bending one neighbouring branch across it. That often creates an obvious line and leaves the rest of the tree thin. Instead, redirect two or three nearby tips at different depths: one towards the centre, one across the gap and another slightly forward.
Use shorter inner tips to cover the trunk and longer outer tips to form the outline. This layering creates the visual density associated with a fresh evergreen. On a flocked tree, handle the tips carefully because excessive rubbing can remove the artificial snow coating.
The top third needs special attention. Many artificial trees look sparse beneath the star or angel because the upper branches are left in their packaging position. Separate the small tips around the crown, then angle a few towards the centre and others outwards. Keep the very top stem upright so the tree topper remains stable.
A narrow tree can look especially elegant when the gaps are intentional and the decorations are arranged vertically. For a fuller traditional style, use branch tips to create overlapping layers, then place larger baubles slightly inside the canopy. This makes the tree appear deep even when its foliage is moderately sparse.
Add Lights After Fluffing
Once the branches are shaped, test the lights before placing them on the tree. Australian homes generally use low-voltage LED strings for indoor decorating, and LEDs produce less heat than older incandescent sets. Even so, follow the manufacturer’s instructions and avoid overloading power boards or extension leads.
Start wrapping lights from the trunk or lower section and move upwards, placing some bulbs deep inside the branches and others near the tips. Inner lights create a warm glow through the foliage, while outer bulbs define the tree’s outline. If all the lights sit on the surface, a sparse tree will remain visibly sparse.
Step back while the lights are being added. They can reveal gaps that were difficult to see in daylight, particularly in a room with warm lamps. Move a branch or two rather than forcing bulbs into a crowded area. The aim is an even glow from different viewing angles.
For an outdoor display in Sydney, Canberra or another Australian city, use products rated for exterior conditions and protect connections from rain. Outdoor artificial trees and porch decorations should also be kept away from hot surfaces, open flames and areas where dry foliage could become a fire risk during summer weather.
Finish With Decorations And Storage
Place the largest ornaments first, distributing them around the tree instead of concentrating them at eye level. Then add medium baubles, smaller decorations and any sentimental pieces. Hang some items inside the branches and others near the tips to preserve the depth created during fluffing.
Ribbon can emphasise the tree’s shape when it is tucked loosely through several layers rather than wrapped in rigid horizontal rings. A simple palette of eucalyptus green, white, gold or muted red can suit an Australian summer Christmas particularly well. Lightweight timber ornaments, raffia details and natural textures also work nicely in homes with coastal or relaxed interiors.
After the holidays, reverse the process with care. Remove decorations and lights first, then compress branches loosely instead of crushing them into the smallest possible space. Store the sections in a cool, dry cupboard or under-bed container where they are protected from moisture, pests and extreme heat.
When the tree is assembled next year, allow extra time for reshaping rather than expecting it to spring back immediately. A well-maintained artificial tree can serve for many seasons, and the annual fluffing routine becomes faster once you know which branches create the best coverage. For broader festive decorating ideas and seasonal resources, the Christmas decorating guide offers a useful place to continue planning.
Our Parish & Services
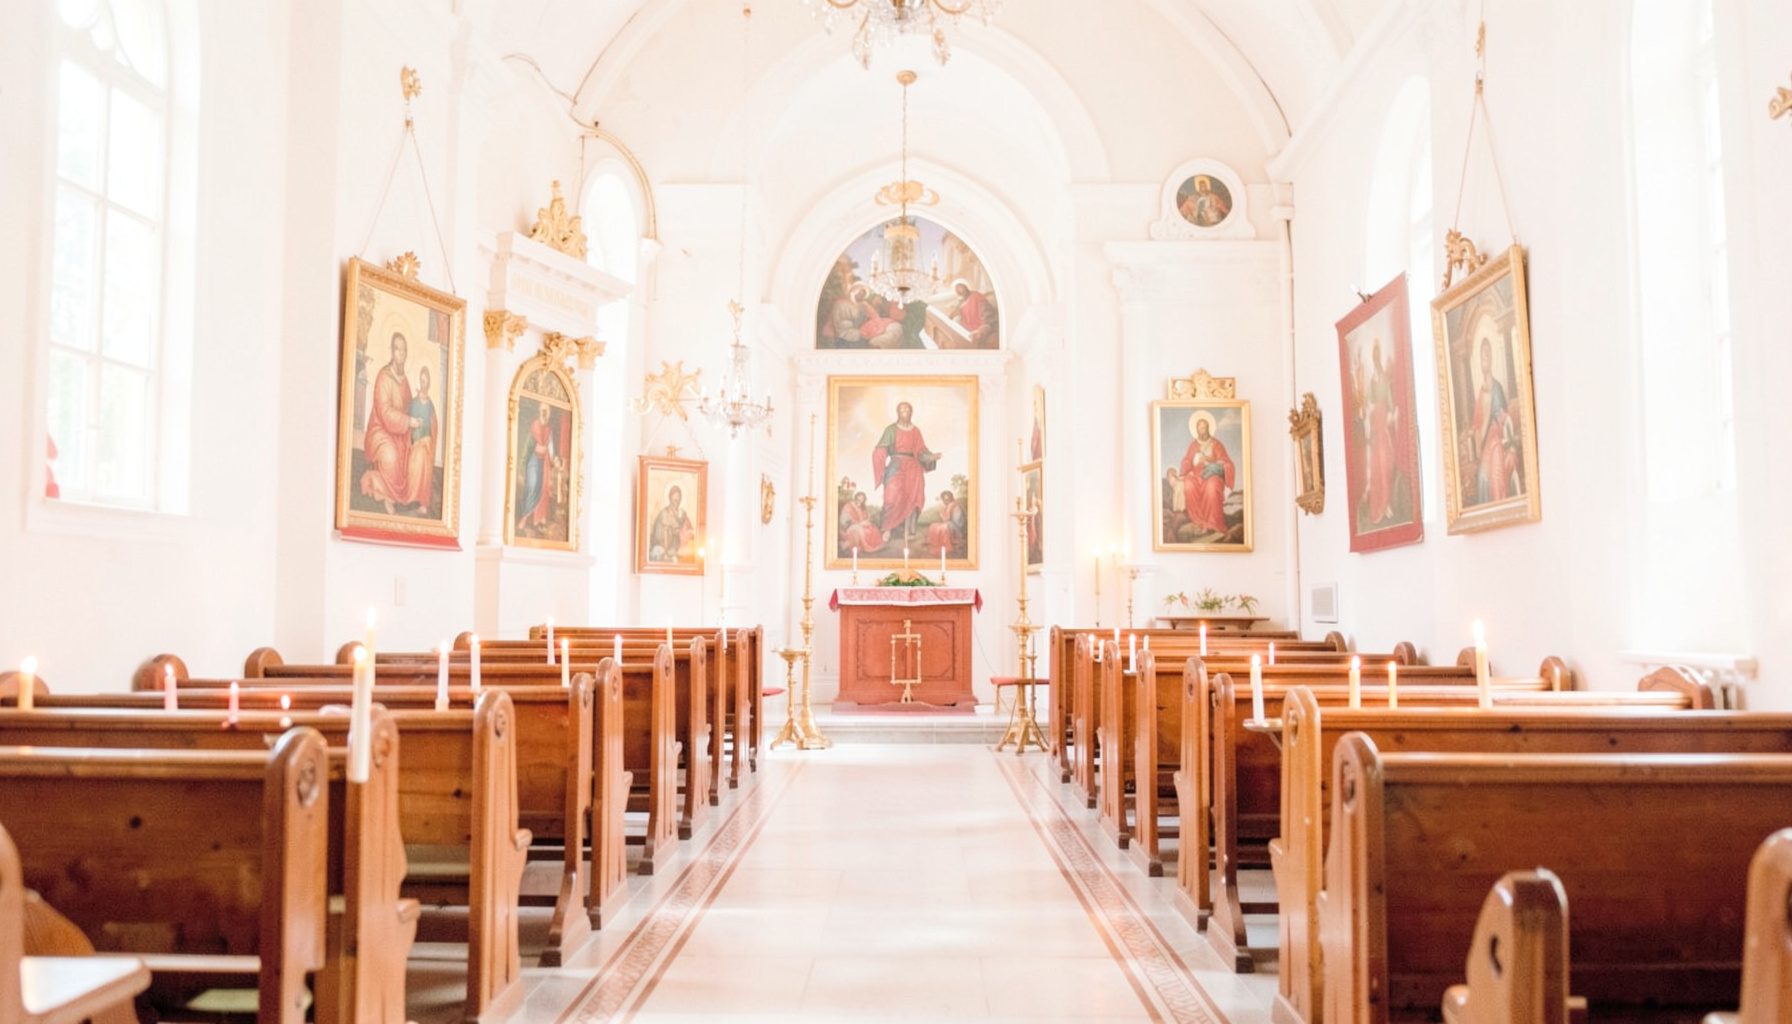
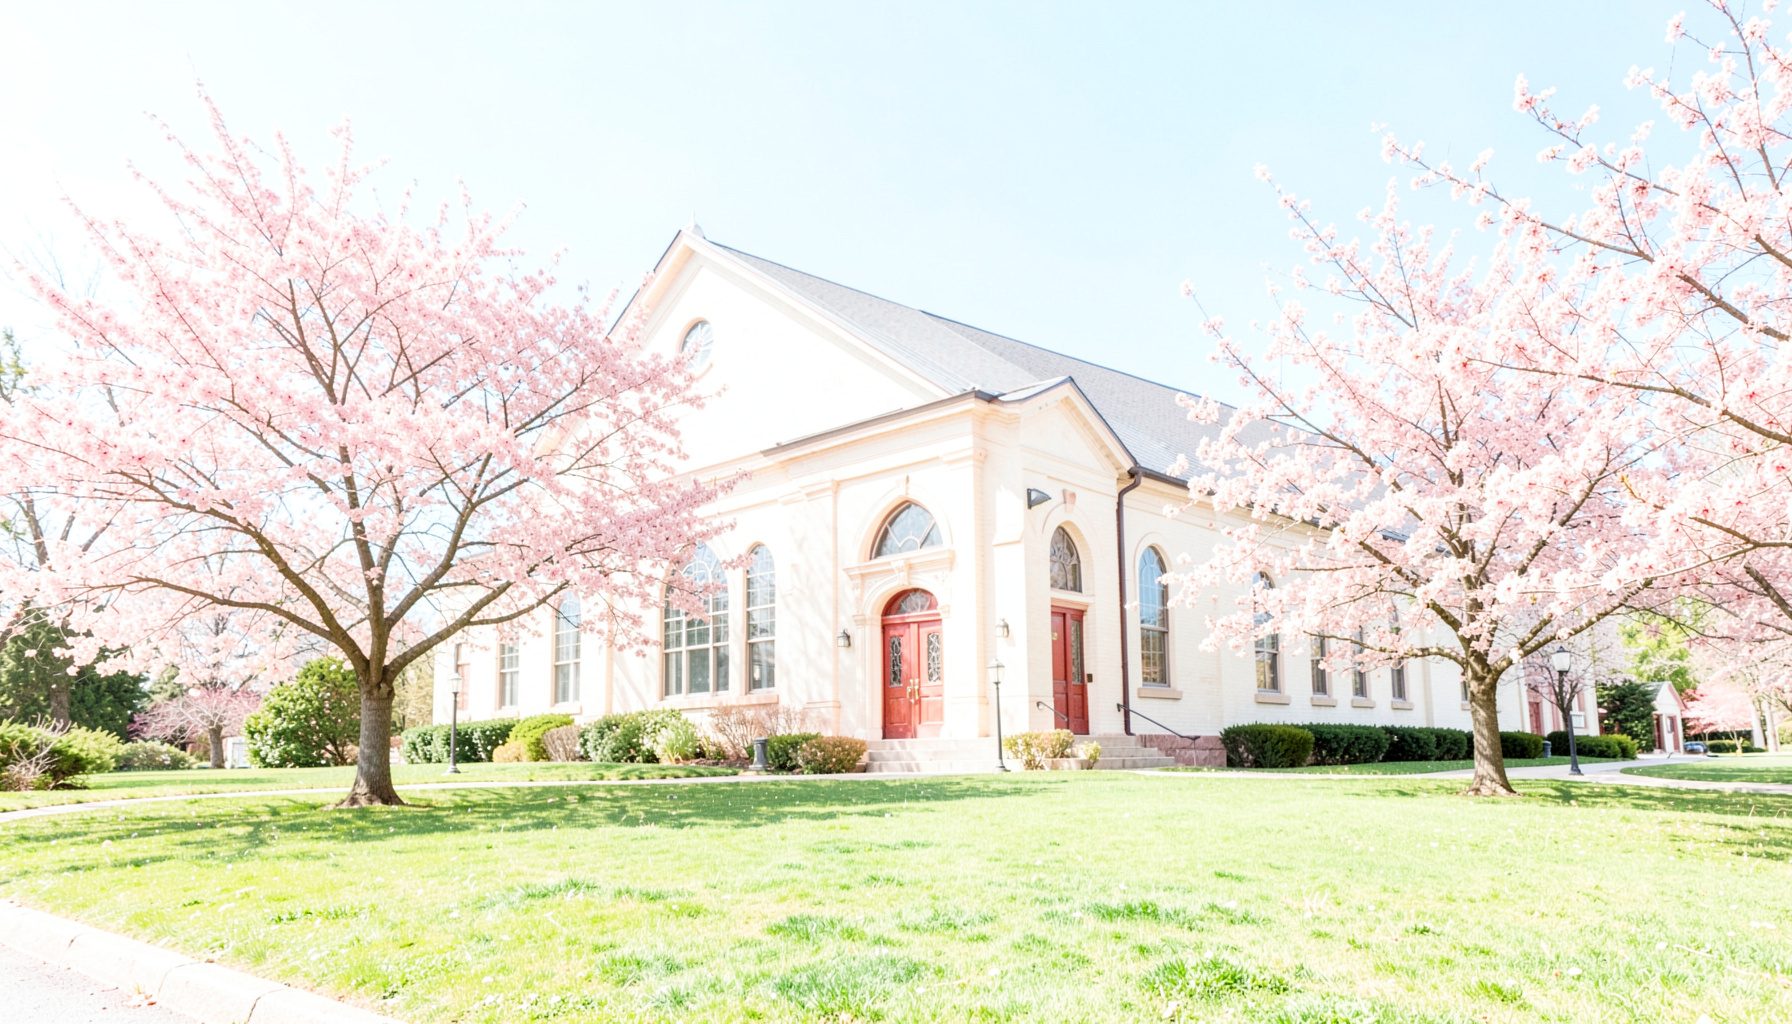
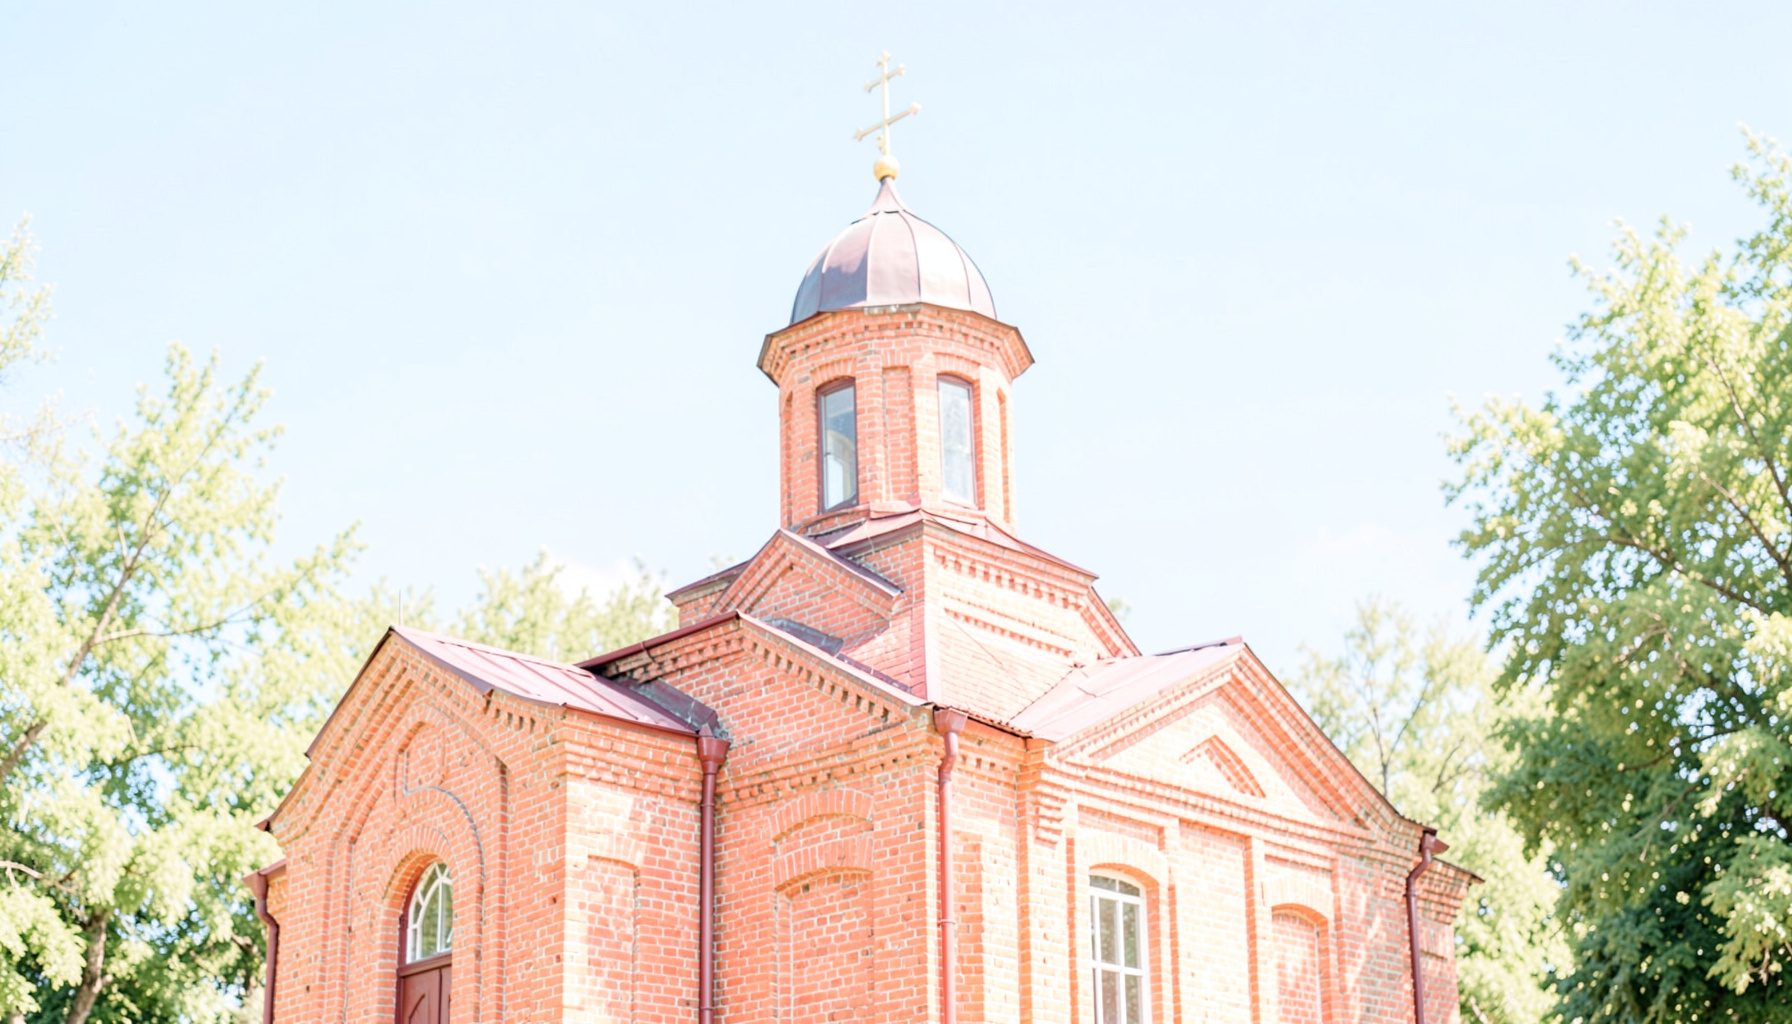
St. Nedela serves the Macedonian Orthodox community in Ajax and the surrounding region with regular worship, pastoral care, and facilities for gatherings.
Sunday Worship
Divine Liturgy every Sunday at 10 a.m. All are welcome to attend and participate in the life of the parish.
Services & Price List
Information on regular services, Easter schedules, and price lists is available through church administration or on the bulletin board in the hallway.
Banquet Hall
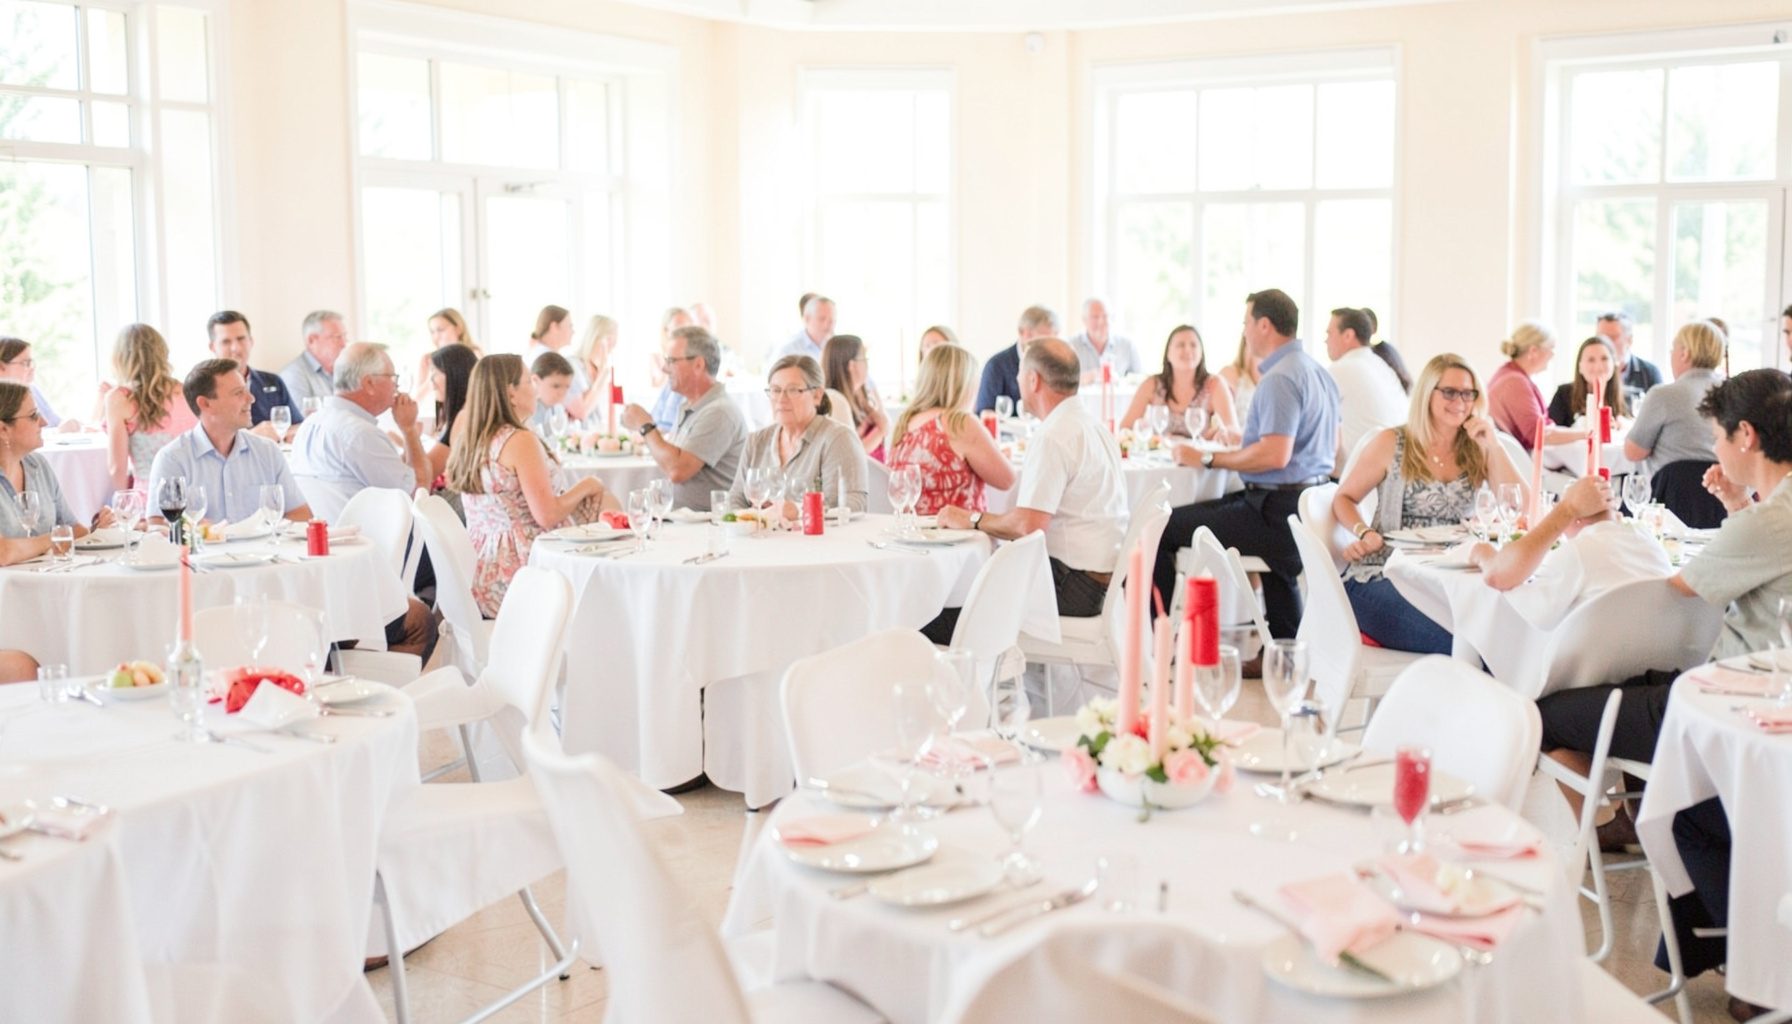
A hall accommodating up to 300 people is available for rentals. Contact Risto Trifunovski at 905-426-5355 for inquiries.
Prayers & Resources
Access the Lord's Prayer, the Nicene Creed, and prayers to the Mother of God — foundational texts of the Orthodox faith.
Kids' Corner
Resources and activities for the youngest members of our parish community.
Executive Board
Learn about the parish leadership and the dedicated volunteers who guide our church community.
Office & Contact Info
Parish Priest
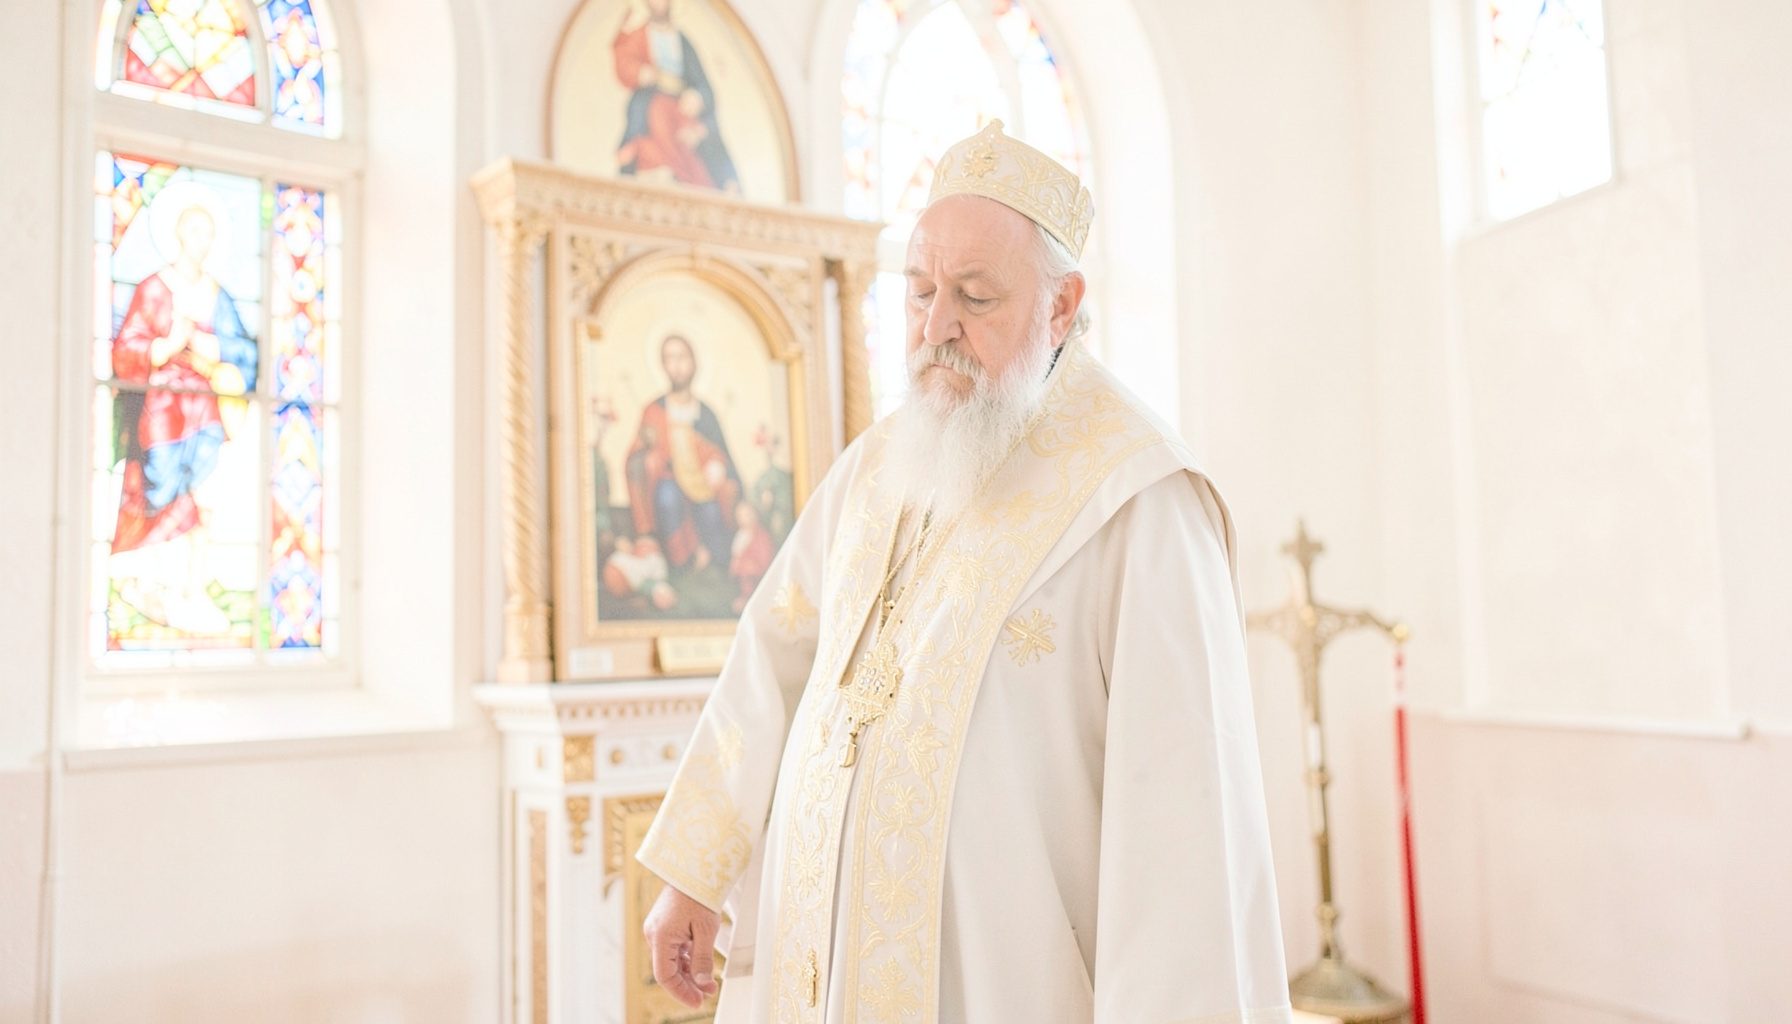
For religious or spiritual matters, contact Rev. Blage Dimitrievski at 416-568-4717 or blaged@stnedela.com.
Administration
Contact Secretary Helen Damtsis at 905-426-5355 for administrative inquiries.
Location & Hours
485 Bayly Street West, Ajax, Ontario, L1S 6M7
Open daily except Mondays, 10 a.m. – 4 p.m.
Insights & Articles
How to Settle Monthly Credit Payments During Unemployment
Guidance on handling loan repayments when facing job loss, including optional credit insurance for unemployment coverage.
Repayment of Loan Insurance
An overview of credit insurance for mortgages and loans, and how to opt out of insurance and recover premiums in certain situations.
What the Bible Says About Celebrating Christmas
A biblical exploration of Christmas celebrations, reflecting on scriptural perspectives regarding the holiday.
Gallery
Images from parish life, services, and community events at St. Nedela.